Problem and initiation
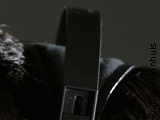 The headband from the HP-1 headphone is made from a flexible plastic frame with a thin leather finish in the frame, see the picture alongside. Clearly visible are the plastic band/base with in between the thin supple leather. The plastic base loses gradually the necessary flexibility, probably through influence of sunlight/uv-radiation. At some point this plastic base will break and this is the beginning of a swift end. If this is the case its best to use the headband as a model for the new headband.
Disassemble the old headband from the headband sliders, keep the parts in a safe place, the screws are unusual in size. Put the headband flat on a sheet of graph paper and copy the profile with a pencil. On the drawing you can see only a part of the outline. The not visible part was broken. Copy first the sound side, turnover the headband and copy the outline of the missing side. You can do this because the headband is symmetric. It is important that both ends are sound, you will need them later.

What we outsource
I did experiment for a long time with all kinds of material, but none of them did satisfy. I was looking for a solution with the supple leather of the original HP-1 headband in mind. It seems to be a wrong starting point.
 I had some luck in finding a small company busy with leather and fashion for a very long time. A nice thing about those small companies is that you often find great skill behind the front. Jeroen Besseling, owner of the company with identical name in Alkmaar, the Netherlands did understand my problem immediately. From the many types of leather we did choose for Japanese bull, its very soft and supple. To get some rigidity two parts were cut, glued together and sewed. Because the right machines were there the job was done in no time. Below you will find pictures how its done, you can click on the picture for an enlargement.
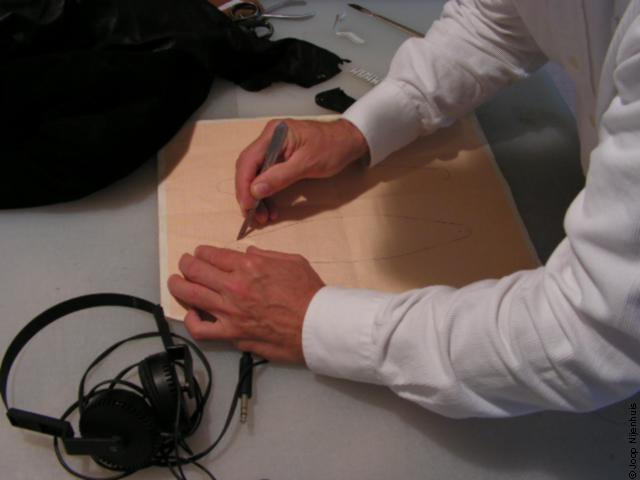

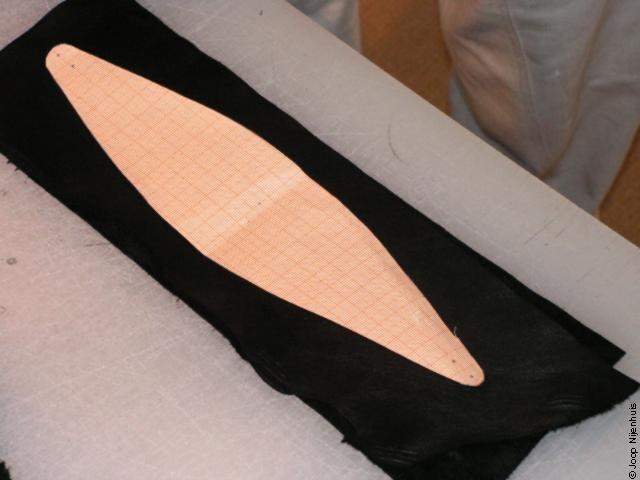
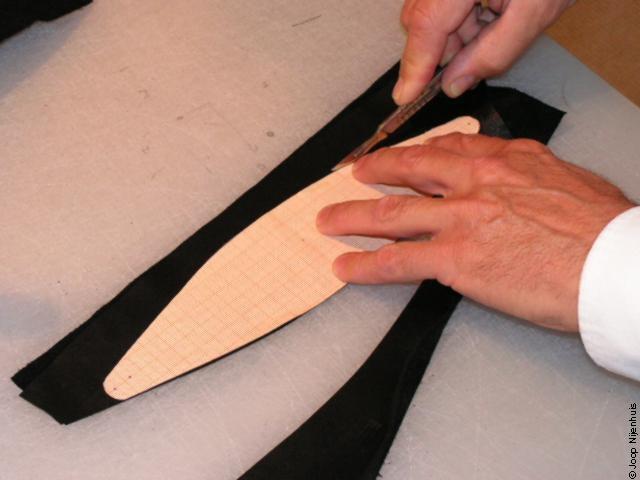
Jeroen uses a surgical knife for cutting because the knives are razor sharp and can be replaced very fast. On the other page about refurbishing the Yamaha HP-1 you will find a similar knife. Those will do the job, but it is recommended to use a fresh unused blade. If the blade is not sharp enough you might get ragged edges or the cutting is just not nice. First you cut the model "about" and afterwards you cut the model clean exactly alongside the line. Next find two pieces of leather and use the model for cutting.


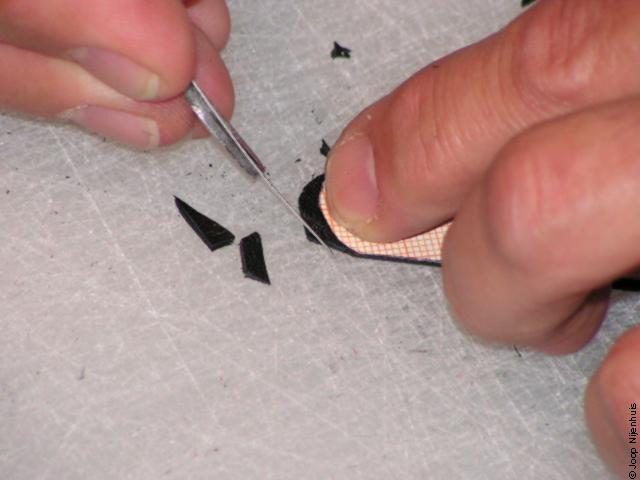
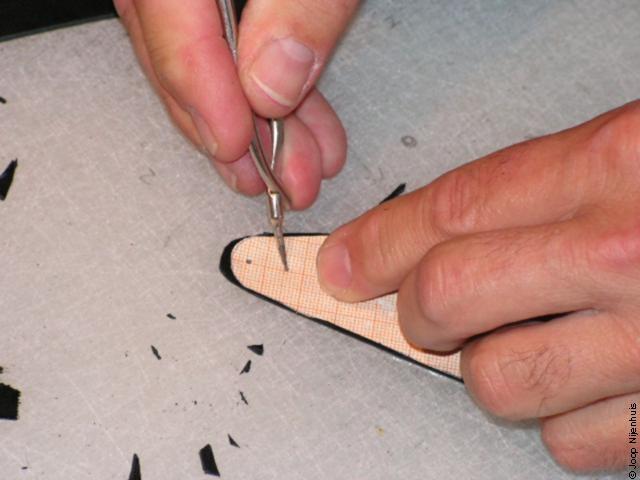
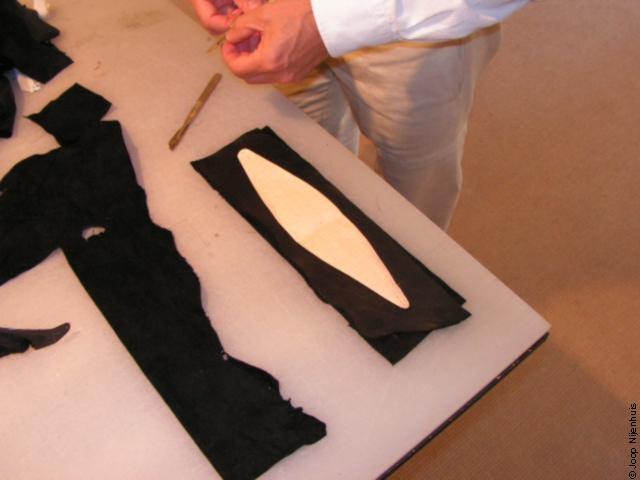
The two pieces of leather are glued together and are cut to size in one time with the aid of the model. This method guarantees that both parts are exactly the same size. First the long lines are cut, the sharp curves are cut proper afterwards. Final the position of the screw holes for fixing are set.
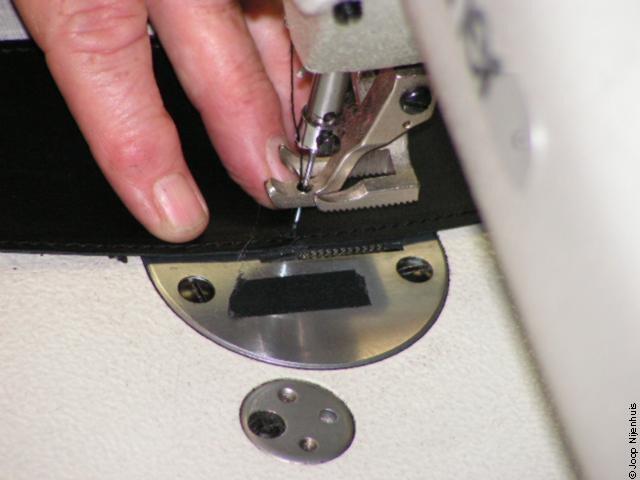
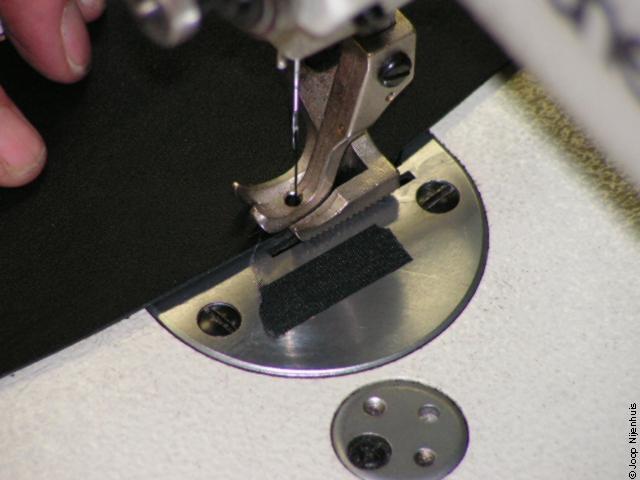

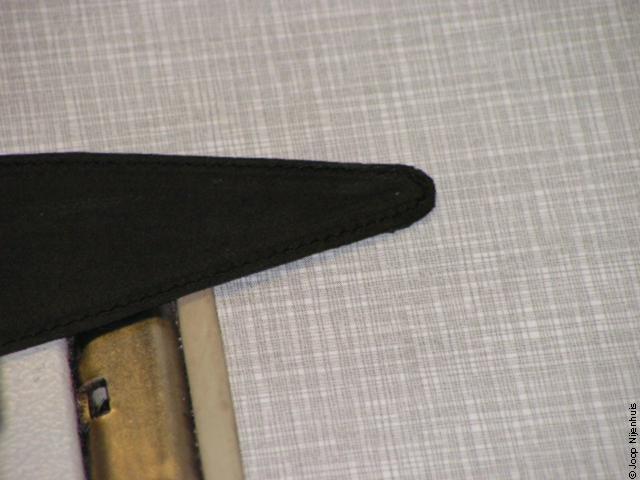

The two pieces are sewed together. Both ends are a little tricky. At this point its better to hand-operate the machine. The final result is identical to the model. In the background some rest pieces of leather.
What we do
The headband is ready but can not be assembled yet. The old headband have to be used for the mounting ends. These must be fully intact. A marking is set on the mounting ends with the aid of a "C"-cell. The mounting ends are cut off the old headband alongside the marking with a sharp pair of scissors.
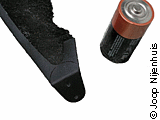
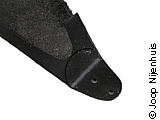
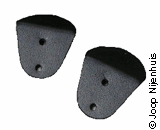
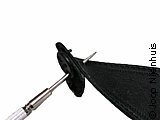
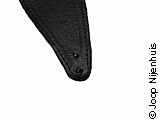
Put the two pieces on each other and make them equal with a pair of scissors. Take one of the screw plates which came off by the disassembling. The screw holes can be stretched by using an awl and one of the screw plates. Assemble the screw plate with the two screws on the new headband, but without mounting them on headband slider. This will prevent trouble with the actual assembly because the holes can't be found by the screws.
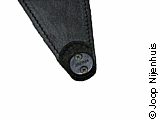
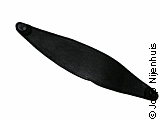
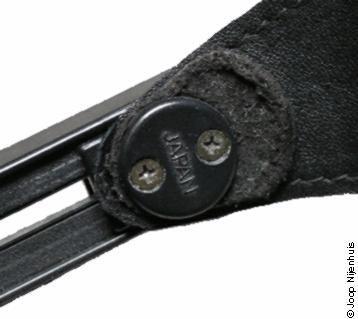
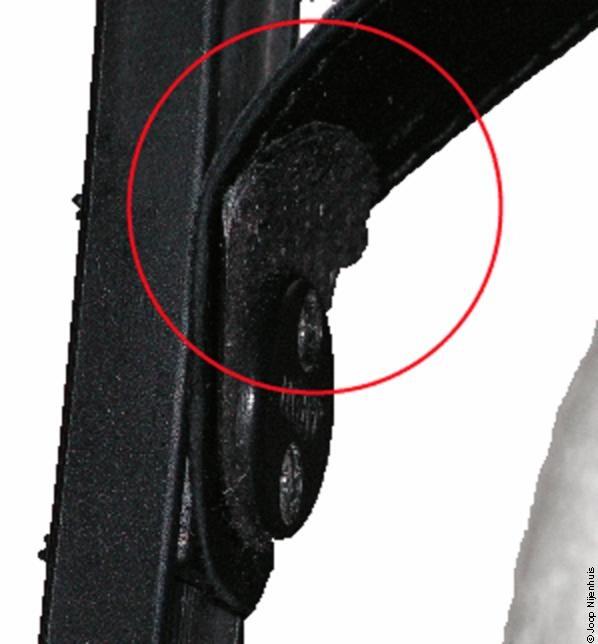
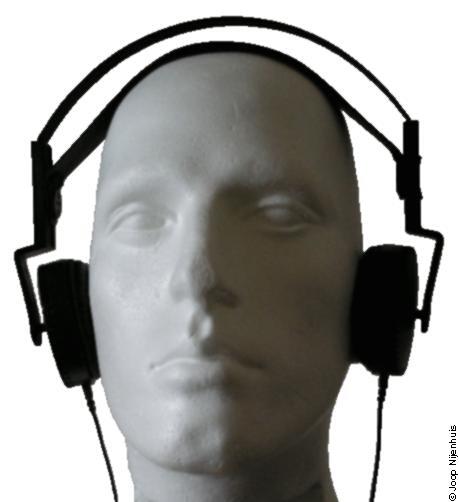
Take one of the adjusted ends of the original headband, the guide, and mount this between one of the screw plates and the leather of the headband. The tilted side must point to the inside, see the picture(s). Remount again the screws, but turn it in until you just feel the first thread of the screws on the other side of the leather headband. You can mount the headband If both ends are assembled. Put one of the ends on one of the sliders and turn the screws gently into the slider with a suitable screwdriver. Don't over tighten the screws because this will damage the screw thread from the sliders. If one side is ready go on with the other side in the same way. The action of the adjusted ends of the original headband, the guides, is clearly visible in the last picture with the dummy head.
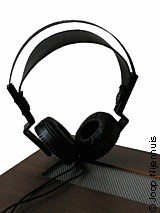
The final result
The final result is far better then I hoped for. The new headband is a full-functional and beautiful replacement of the original headband. Also the rigidity in the breadth of the band is very good. In the lengthwise direction the headband bulge nicely to the metal frame, just perfect. In action the adjusted ends of the original headband, the guides, take care that the forces are equally spread and that the screw plates stay free of any friction. All in all a solution which last for a lifetime.
