Used materials

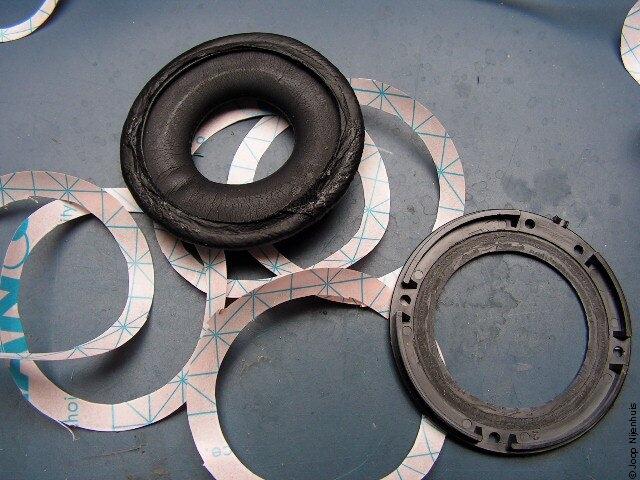
 The refurbishing of the Yamaha HP-1 starts with collection of replacement materials. This article is about the ear shells or more popular ear cans, the headband follows in short time. The old original ear pads are totaly worn out and have to be removed from the shells with the necessary caution. The old ear pads need to be kept in a save place despite their condition for their size. A model ear pad from Sony found on many series of models headphones is chosen as a replacement ear pad. MDR-V200 is printed on the box, but the ear pads fit on DR-6M (with the same problem as HP-1), MDR-V4 or MDR-V400. The order number 2-115-667-01 is a part number from Sony. This model ear pad is designed for mounting on a flange or rim. The required adhesive backing or gluey brim for the Yamaha HP-1 needs to be retro-fitted on the pleat which goes over the flange or rim.
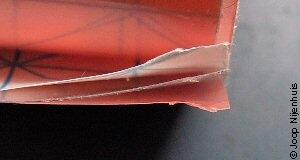 The adhesive backing or gluey brims for the ear pads and the other needed gluey rims can be made from a thin type double-sided adhesive tape. I did choose for a type which is available on 50cm wide rolls. An other type is possible if the size of the roll is minimal equal to the largest section of the ear shell (-can). The picture alongside shows a detail of the double-sided adhesive tape employed. On one side a protective paper layer and on the other side a coloured plastic layer.
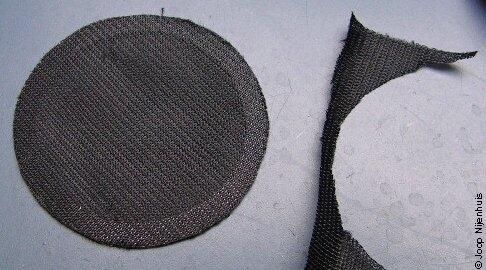
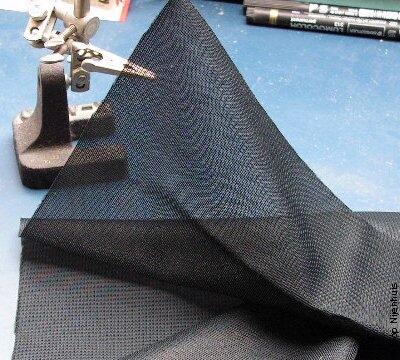 Not only the ear pads are worn out, also the protective covers from the drivers are gone. Some kind of loudspeaker cloth is used as a protective cover, but than from a thinly quality. This kind of loudspeaker cloth for headphones can't be bought loose. I found a solution in using a very loosely woven black (inner) lining. The colour must be mat black. The lining must be rip proof. By clicking on the picture you get a detailed enlargement of the loosely woven lining. I bought the double-sided tape and the lining in a "hobby" shop with painting and drawing materials, but this may vary from country to country.
Required tools
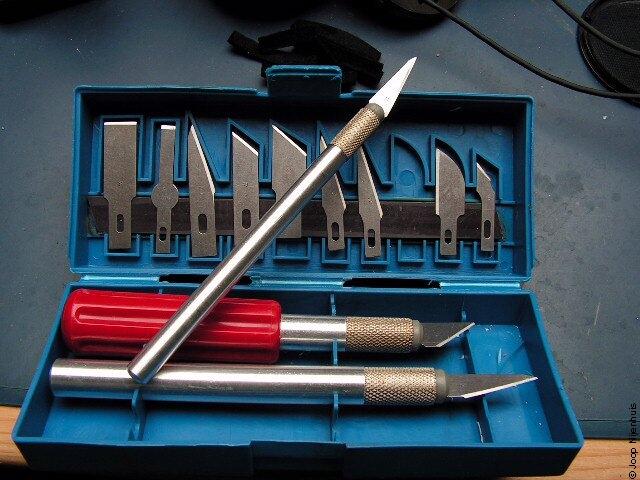
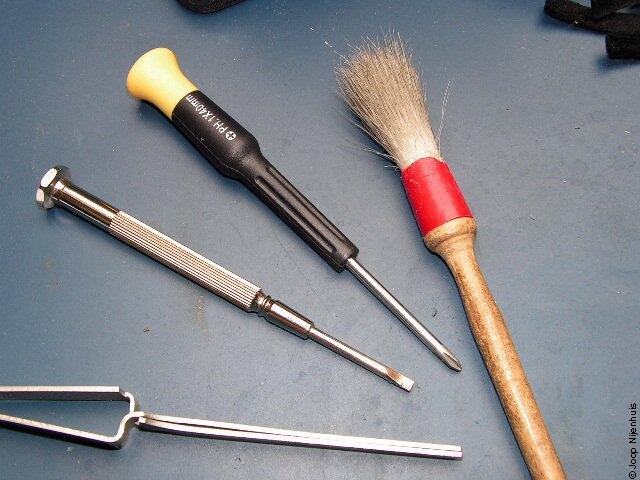 You don't need much or very special tools. A phillips screwdriver small model (1x40) and a screwdriver with a sharp blade 2 to 3 mm wide. The latter is used for chiselling the glue from the cover. A pair of tweezers can be handy for placing the small parts like the lining of the headphone shells. A small brush is handy for the cleaning. You need a new unused sharp and narrow-leaved knife. Those knives can be bought at the d.i.y. markets. Not on picture is a medium very sharp general purpose scissors.
Disassembling and cleaning
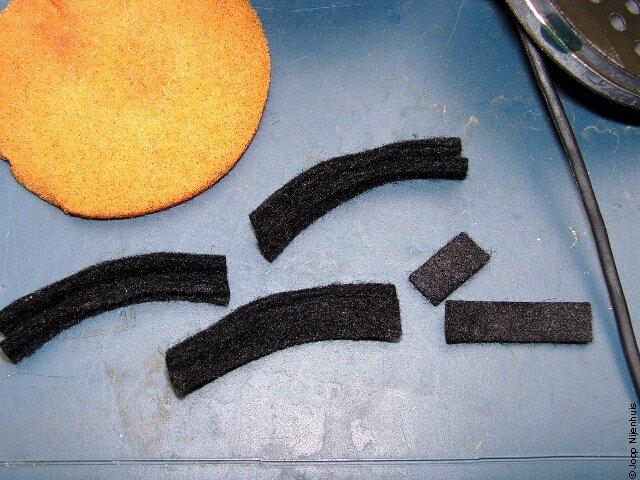
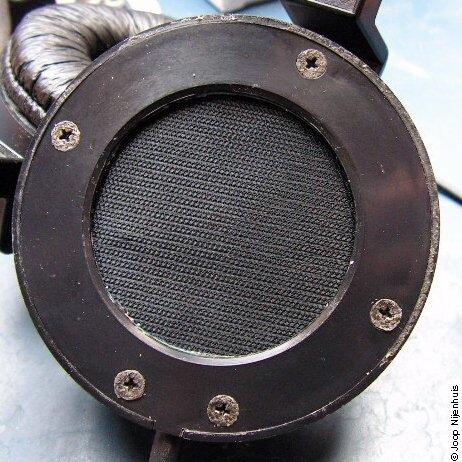
If not already done, remove the old ear pads very gently. The old ear pads have to be in one piece as much as possible because they may be needed in future for their size for replacing the ear pads and its the best guarantee that all old glue parts are removed. The construction of the headphone shell is one of a box with a cover. The shell is the box and the cover is fixed with five phillips screws. Keep those in a safe place, its an unusual size. A plastic ring with a protective lining is fixed on the inside of the cover. Peel off the plastic ring gently. Peel off the lining, even if it is in perfect shape! Put the parts aside. Now you can carefully remove the driver from the headphone shell. Be careful that nothing is going through the holes! Gently blow the driver clean, not straight on the membranes but in an angle. The driver can be examined if all dust and pieces of cloth are gone, it has to be as clean as possible. With a cloth and a little alcohol the driver can be cleaned as much as possible. Be careful that no fluid runs into the holes. Examine the quality of the wires and connections, this is the only moment that repairs can be made. Remove the lining from the headphone shell. Around the driver are eight pieces of felt, keep them in a safe place. Be aware that the felt pieces close to the ground pole are shorter than the others and that the smallest bit is on the inside. The lining can be cleaned with the brush. Brush and blow the inside of the headphone shell clean, special on the hinge joint in the middle. If this joint makes a noisy high pitched sound than a small amount of WD40 can help. It has to be sprayed from the inside on the bump toes, click on the picture for an enlargement with more detail. Put the headphone aside.
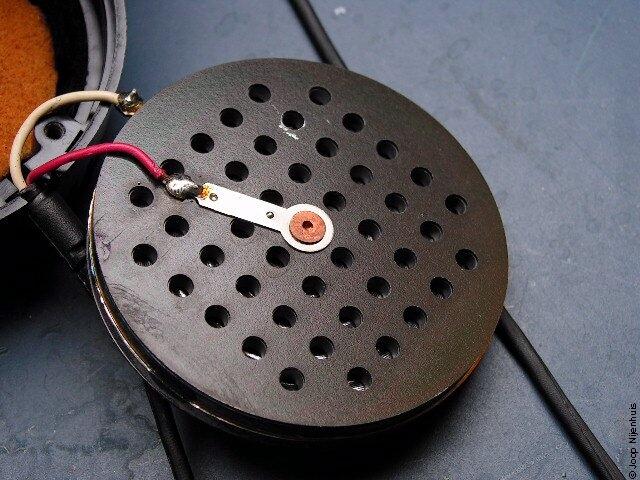
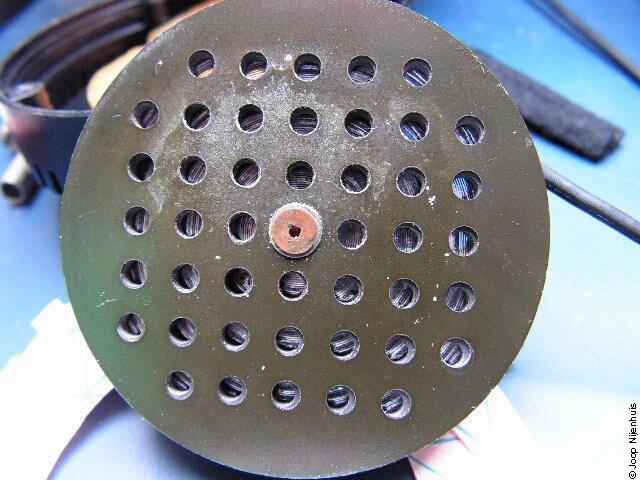
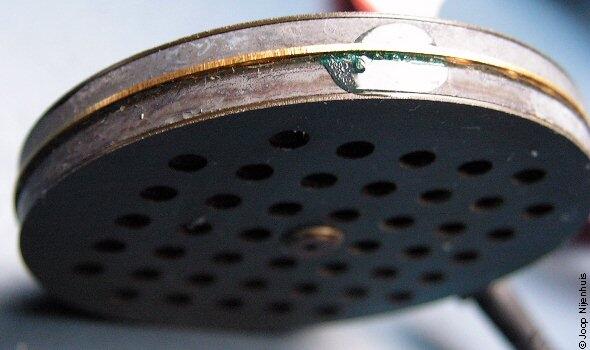
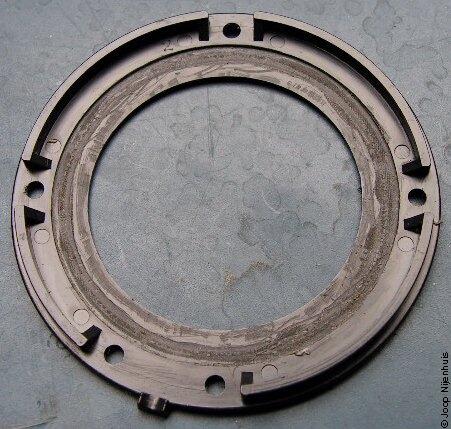
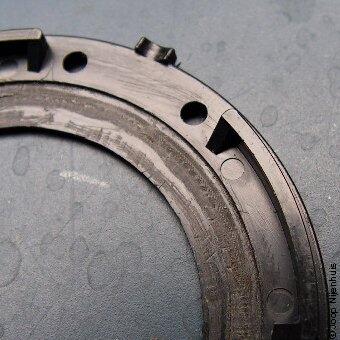
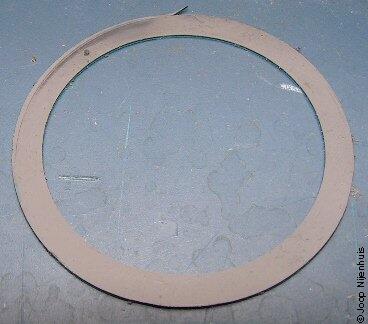
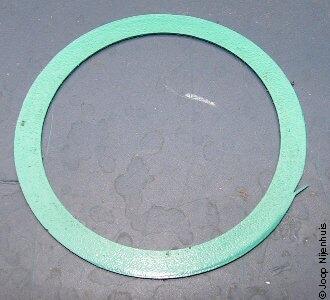
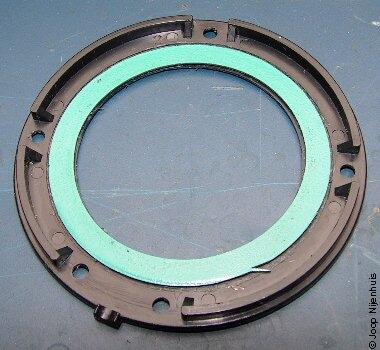
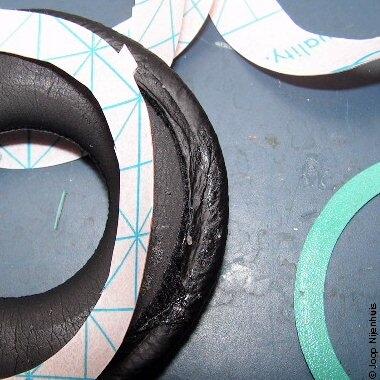
The cover of the headphone shell does have glue remains on both sides. Put the cover flat on the table. Take an old linen cloth and some alcohol or other cleaning agent that removes glue. Take care that the agent doesn't affect with the parts. Remove all glue from the ear pad side. The surface must be clean totally and this is the case if the surface shines. Turn over the cover and put it flat on the table. Take the screwdriver and chisel or scratch gently the glue remains from the dented edge for the plastic ring with the lining. Do the best you can, see the detailed picture. Put the cover aside. The driver cover is a slightly flexible plastic ring. One side is green coloured and the other side is gray coloured. Both sides need to be cleaned. It can be done with a linen cloth and some alcohol or cleaning agent. Take care that it doesn't affect the ring. The ring needs to be cleaned from all glue remains. See the pictures.

Making new assembling materials
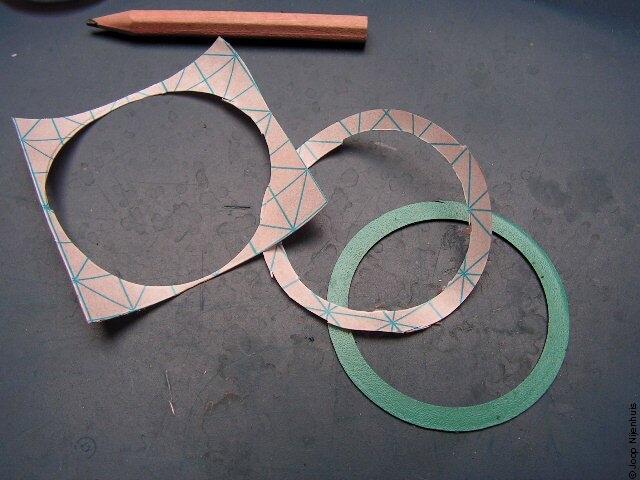
The available roll double-sided adhesive tape is 50cm wide. If one can speak of "adhesive tape" is an other question because in most times we point out to a roll of about 1 to 2cm wide. The roll adhesive tape was stored rolled up and because of the action of the protective layer on both sides the roll tend to the rolled up situation. Its therefore best to cut out small pieces if you want to work with it in the right way. Use the cover and the two toned ring as a "about" model and cut roomy around. See the pictures alongside, click on a picture for more detail.
The cover is used as a model for cutting out the adhesive tape part for the inner two toned ring which is used as a carrier for the loudspeaker cloth. Put down the cover centred as much as possible on the sheet double-sided adhesive tape for the two toned ring! Cut with a sharp and narrow-leaved knife (because of the sharp round cutting) the inner part. See the picture. You need at least 4 models, but more can't harm in case you make a mess of it during assembling. There is no way you can cut new models after this stage. So now it matters to cut enough material! After this stage you can put down the two toned ring on the freshly cut models. The hole in the ring must match the hole of the model exactly. Now you can cut the outside of the ring with the same sharp knife. Whats left is a narrow ring of double-sided adhesive tape with the same dimensions as the two toned ring. For this photo session eight models were cut so its easy to replace the loudspeaker cloth afterwards. Put the narrow double-sided adhesive rings aside, do not use it yet! The assembling of the shell will follow later on, the two toned ring is still needed as a model for cutting the double-sided adhesive parts for the ear pads.
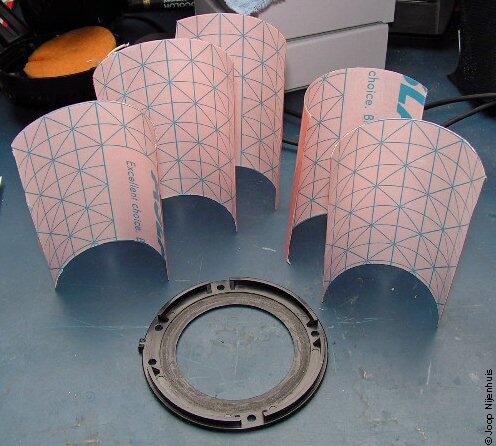
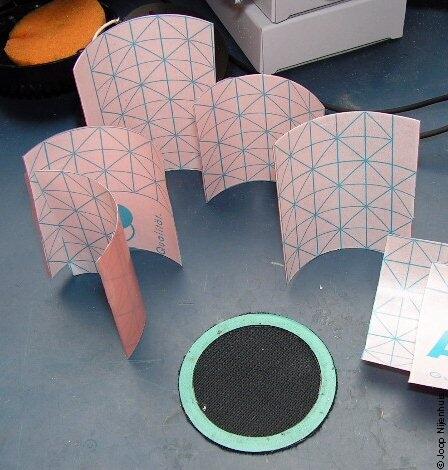

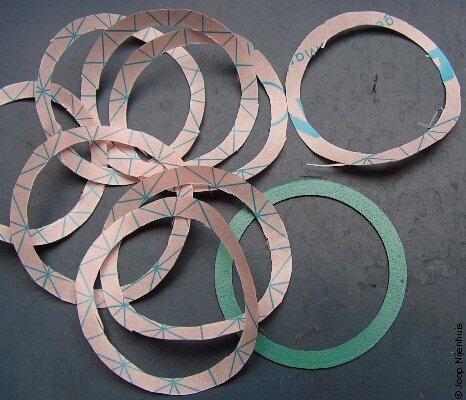
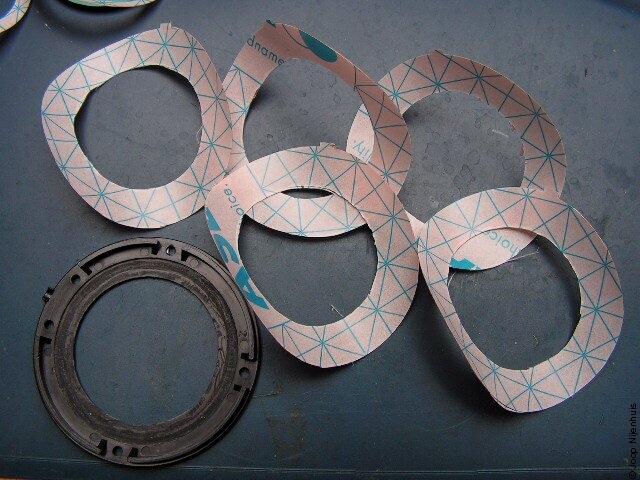
The assembling adhesive tape for the ear pads is a similar process as the one above. The cover is now also used as a model for cutting of the assembling adhesive tape for mounting the ear pads. Put down the cover in the centre as much as possible on the sheet of double-sided adhesive tape for the cover! Cut with a sharp and narrow-leaved knife (because of the sharp round cutting) the inner part. Keep the model firmly on its place, practice makes perfect! Now you can immediately cut the outside of the cover. See the pictures. You need two models minimum, but more can't harm in case you make a mess of it during assembling. There is no way you can cut new models after assembling the whole thing. So now it matters to cut enough material!
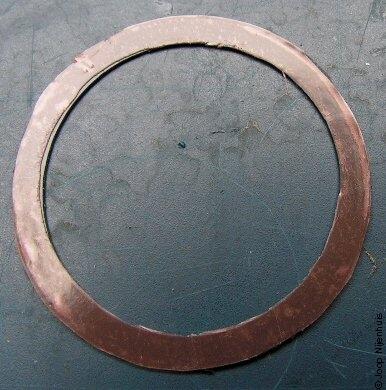
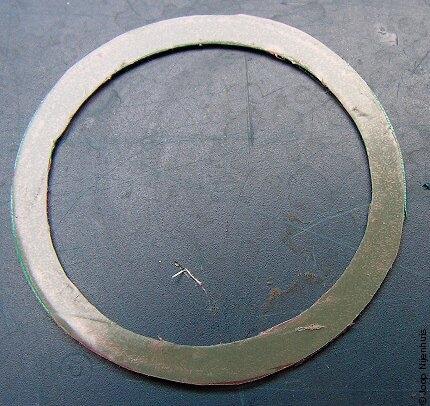
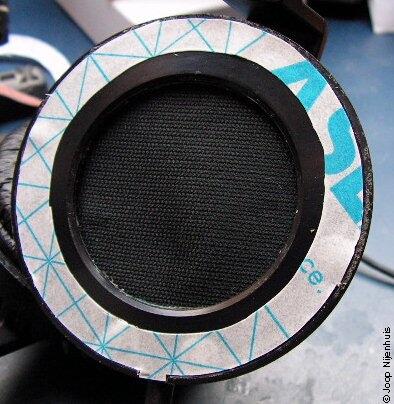
Assembling the first time was done with this model. However in practice you will hear all kinds of secondary noises from the continual process of sticking and tearing of the ear pads on the adhesive layer. Also the ear pads where fixed to much on the cover. In this second session, on request of Chu Moy from Headwize now with pictures, the double-sided adhesive ring will be adjusted to the pleat, which goes over the flange or rim, of the ear pads. Take the two toned ring and put this exactly over the hole in such way that the hole of the double-sided adhesive ring matches the hole of the two toned ring. I didn't had any luck the first time so enough adhesive rings were cut. Now you can cut carefully on the outside of the two toned ring with the same sharp knife. The ring is used as a model in this process. On the picture of the green side above you can see that you have to cut carefully, an incision in the ring is visible. Also available on picture is a clear view of the result, the freshly cut adhesive ring does have about the same size as the pleat of the ear pad. Click on the picture for an enlargement. Put the adhesive rings aside.

Assembling the driver cloth
Take two cut out double-sided adhesive rings for the two toned ring and the two toned ring. Gently tear off the protective coloured plastic layer or the protective paper layer from one of the double-sided adhesive rings. Experience shows that the paper layer comes off easier. Stick loosely a double-sided adhesive ring on one side of the two toned ring on just one point. Lay down gently the remainder of the double-sided adhesive ring over the two toned ring. Slide and reposition the double-sided adhesive ring until it matches with the two toned ring. Press firmly the double-sided adhesive tape on the two toned ring, see to it that the whole ring is fixed and that there are no ripples. The double-sided adhesive tape have to be laid down completely flat on the two toned ring. Proceed with the other side of the two toned ring in the same way.
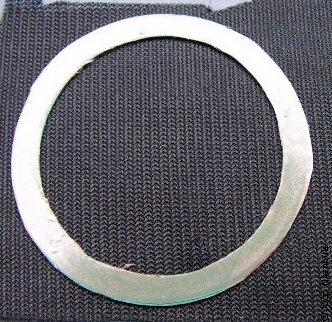
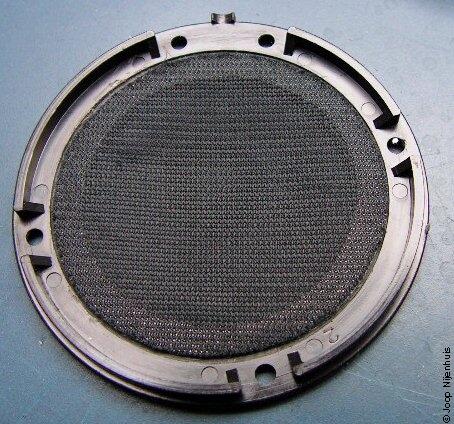
Take the (roll) lining and cut a square piece. Mind possible ladders or other run ups. Lay down the piece flat on the table. Lay down gently the two toned ring on top off the freshly cut lining and check the size. Gently tear off the protective cover from one side of the two toned ring. Lay down gently the sticky surface on the lining(cloth). Its best when its done at one go. Don't press it firmly yet! Turn over the combination and check if the lining lays flat without ripples. If it checks okay press firmly together. Take a medium sharp general purpose scissors and cut off the excessive parts carefully, don't cut into the ring! As an alternative you can cut off the excessive parts with a sharp knife. Take the cover and turn over the inside up. Lay down the cover with the ear pad side on the table. Tear off the protective cover from the other side of the combination two toned ring and lining (driver cover). Gently lay down the sticky surface in the dented edge from the cover. It can be handy to turn the driver cover into a position if the lining does have a structure. Turn over the combination and check the position of the driver cover. If everything was done in the same way as in the pictures than no green piece may be visible. Turn over again and lay down flat on the table. Press firmly the two covers together. The result must be the same as in the last picture of the subjoined images. Put the cover aside.
Assembling the ear pads
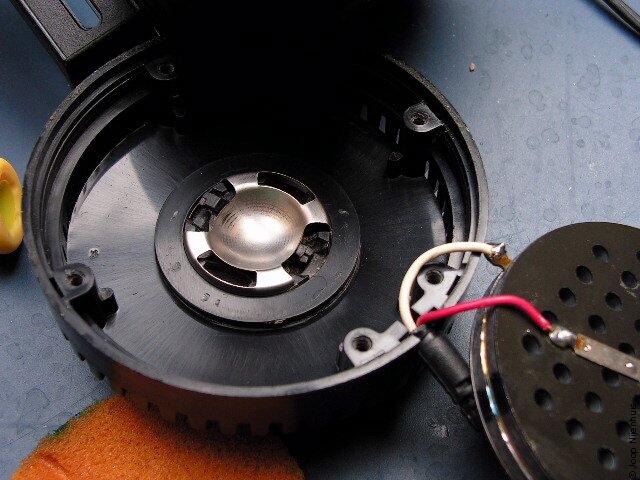
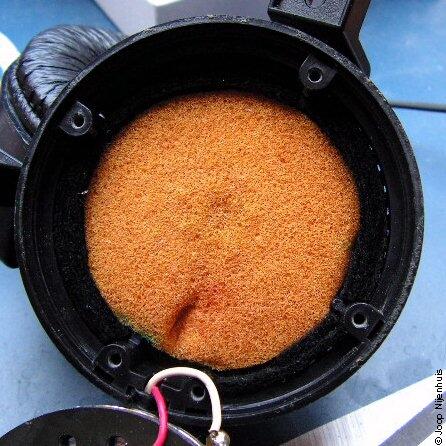
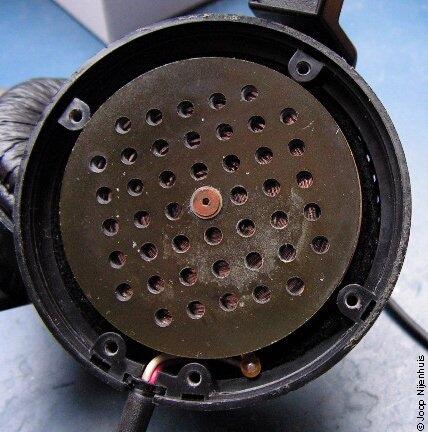
Take the headphone. If the cord was loose, reassemble it. Don't assemble the driver yet, leave it outside the shell. Take the lining parts from the headphone shell and lay down the orange part in the middle of the shell. The markings from the hinge joint will show clearly which side is up or down. Make three sets of two pieces of felt. See the images above. The pieces of felt are equal in size! Start from the left side from the cord and go around clockwise. Use a screwdriver or a pair of tweezers for pushing the parts in its place. The last set consists of two pieces felt unequal in size. The smaller piece sits on the inside and the larger piece sits on the outside. The two parts are positioned against the screw hole at "three o'clock". This position will give enough space for the minus terminal which will be situated at about "five o'clock". See the picture without the lining but with the driver placed. Clearly visible is the minus terminal. Assemble the driver carefully between the lining if all felt parts are in place. Watch that no felt parts are under the driver. All felt parts needs to sit in the same position. Set it right with the screwdriver or a pair of tweezers. The cover can be placed if everything is situated in good order. Keep the combination firmly together and start with the screw at "twelve o'clock" and after that the one at "six o'clock", "nine o'clock", "three o'clock" and finally the last one at "six o'clock". Do not turn the screws tight yet. If everything is in place you can turn the screws tight one by one, but don't over tighten the screws because this will damage the screw thread from the shell.
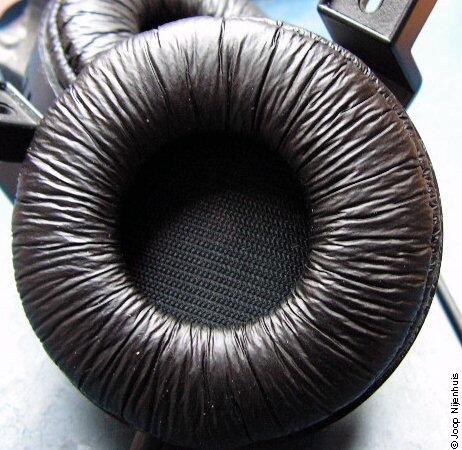
Now take a double-sided adhesive ring for the ear pad(cover) and remove one of the protective layers. Fix the ring on the tip of the cord outlet. Lay down gently the remainder over the cover. Slide and reposition the double-sided adhesive ring until it centres on the cover and press firmly. See the picture. See to it that the whole ring is fixed and that there are no ripples. The adhesive ring must lay down completely flat on the cover. Remove the last protective layer and take a new ear pad from the box. Lay down the ear pad centred on the cover but don't press it. Press and push with one finger the pleat to the edge of the cover on the double-sided adhesive tape as much as possible. You have to repeat this over and over because the material is stiff and will resist its new position. The ear pad is about 2 to 3 mm less in diameter than the outside of the cover. So the material has to be stretched a little. After some attempts the pleat will sit on its place. Take care that the ear pad can move freely. If everything looks the same as in the last picture of the subjoined images you can go on with the other headphone shell.
The final result
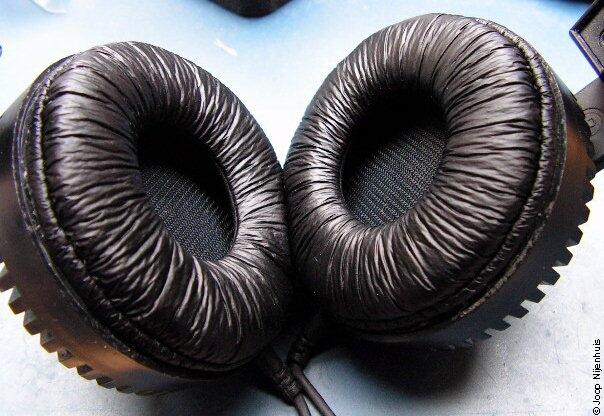 The final result is a beauty! Press, push and correct the sitting of the pleat with one finger regularly. It will take some time before the glue has dried up to some extend and the ear pad will sit on its place. Also the ear pad material need some time to adjust to the new position. The duration of the process depends greatly on temperature and moisture and might take some months. Using the headphone can speed up the process considerably.