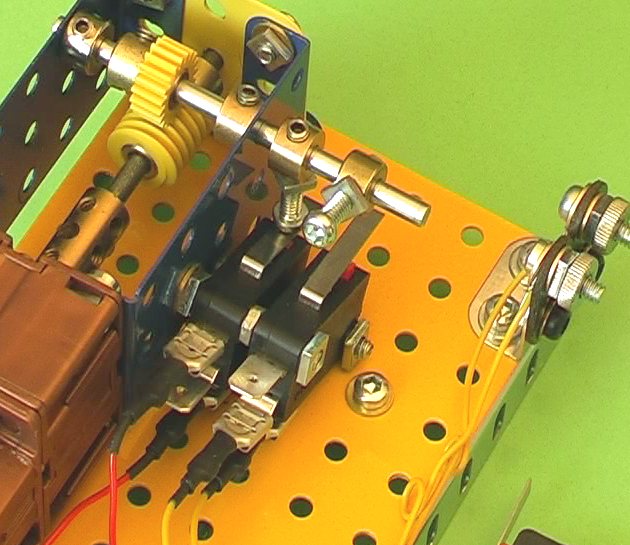
Second picture of the Single Rotate Mechanism. Next picture: Diver Motor (fig 26) © Copyright Les Pattison