Lift (fig 36)
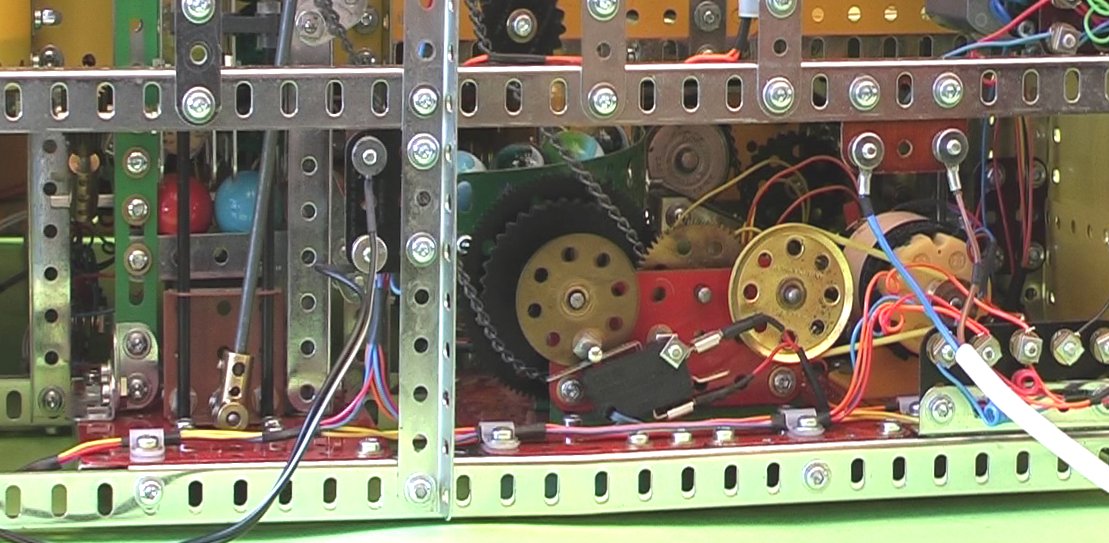
Attached is a composite pic of the Ball Lift Single Rotate Device and the bottom of the Lift itself. It may have been better to label the picture 'Chaos' instead!
Just one output 'Pulse' to drive the next device is incorporated here. Note the two sets of terminals for the power sources. I used both 6 volt and 12 volt motors in the construction and this made the wiring up somewhat complex! The motor used here is an ancient 6 volt PDU that still runs perfectly.
A slightly (very slightly) better picture of the bottom of the ball lift comes next.
Next picture: Lift Bottom (fig 37)
© Copyright Les Pattison