Chapter:-Epoxy and fibreglass -
 |
Fibreglass material can be positioned in different ways and in a different number of layers according to where strength is needed. So it's important that you plan the way you want to do it. There is no time left to think it over once the epoxy is mixed. The epoxy flows through the material and into the wood, this provides the bonding of the two. |
 |
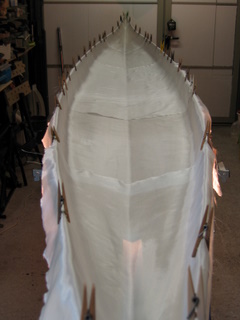
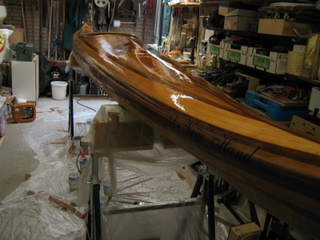
The inside hull coated once. The epoxy needs to be applied in 2 or 3 layers. |
 |
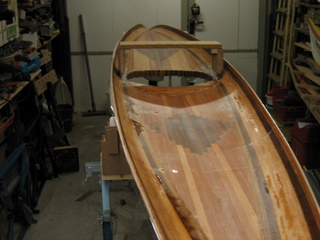
Coating the inside deck. The difficulty was the cockpit. Epoxy tended to pour through the hole straight to the floor. |
 |
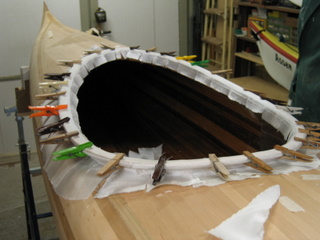
I used a Stanley knife to cut away the superfluous glass material. It had to be done between the gelating and hardening stages of the epoxy. Cellotape was put on the edges to prevent epoxy from flowing into the cavity. |
 |
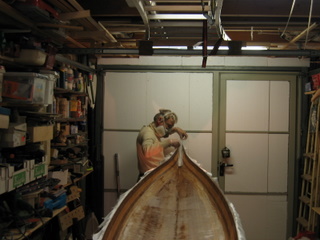
Moisture in the air influences the expanding en shrinking of wood. If the boat halves need to be left waiting for a while, they can warp. I used simple wooden strips to prevent this. |
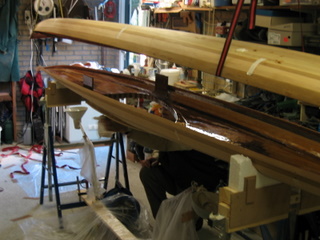 |
The edges were supplied with epoxy as glue, this done the hull and deck were joined. |
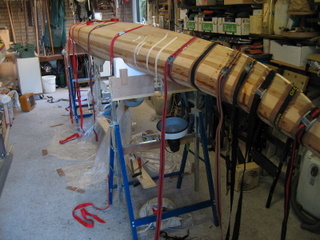 |
The two parts were then firmly bound together. Plastic tape insured that the bindings could be removed after the epoxy set. |
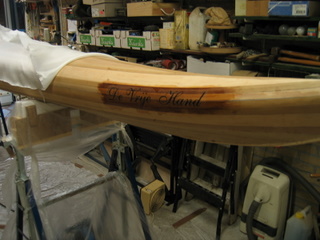 |
The name of the boat was printed on rice paper with an inkjet printer. Ricepaper, like fibreglass, becomes transparent when it comes in contact with the epoxy. You can look through the paper almost as if it were glass. The rice paper with the name is placed beneath the fibreglass. |
 |
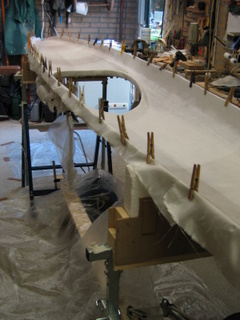
Putting glass and epoxy on the cockpit rim is a tricky job and takes a lot of concentration. Air bubbles appear easily when epoxy is added. This is one of the jobs I did together with my wife. |
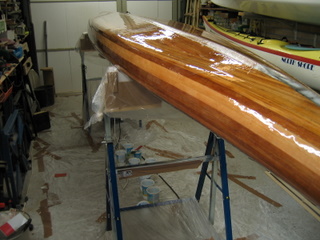 |
This is the finished hull. Down the centre runs a heavy glass strip for extra protection. |
 |
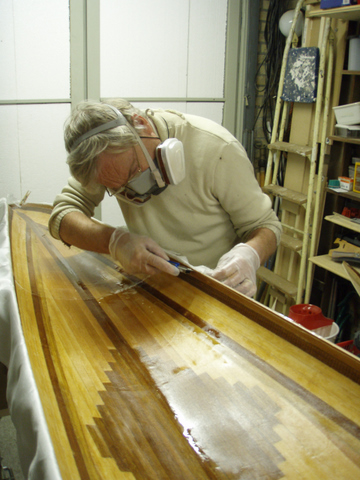
With Valerie Welch I applied the coating for the deck. She has a lot more experience applying epoxy on boats than I, and has built several boats. (see the link on the home page ) |
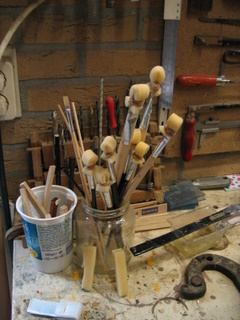 |
I didn't want to use new brushes all the time for small things, so I improvised a way to re-use the old brushes, using rubberbands to fix strips of foam rubber over the used brush. |
 |
With a pencil I lightly put marks on the wood, so I would be able to know where the side support for my seat would go, however these signs disappeared after applying the epoxy. I had to make a guess where the side supports should be placed. Improvised tools helped me to keep the sides parallel. |
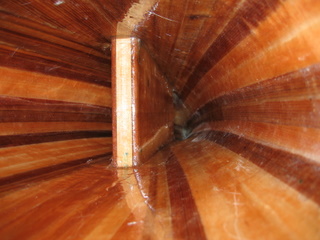 |
Placing the skeg housing was simple, however applying the glasscloth and epoxy inside the boat was awkward. My arms were too short and I had to do everything with mirrors and special brushes to get around corners. I could hardly see what I was doing. |
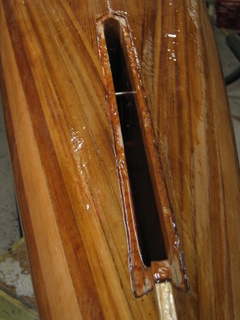 |
A view of the skeg house from below. In the centre you can see the RVS axle. |