 |
If you are new to building your own sea kayak, I'd like to advise you to start by looking at the first Guillemot sea kayak that I built, which can be found on this website. (click here )
There you will find a complete and detailed description of the building process of my first boat. On the present part of the site I describe only the new aspects of my second boat. It is to be built for my wife and will have some different features from the first boat, she is actively participating in decision making.
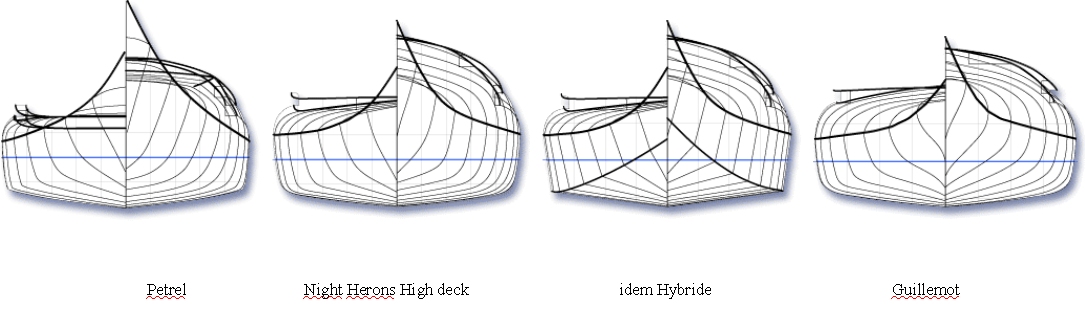
We needed to decide what kind of boat best meets our requirements. We made a list of what we wanted, asking ourselves what kind of paddling we were going to be doing with the boat and what our expectations are. Surprisingly we concluded that yet again the Guillemot would be the best choice. One of the first things I did was to develop a concise deck plan, with all the fittings in place. The fittings need to be mounted before deck and hull are joined. |
 |
|
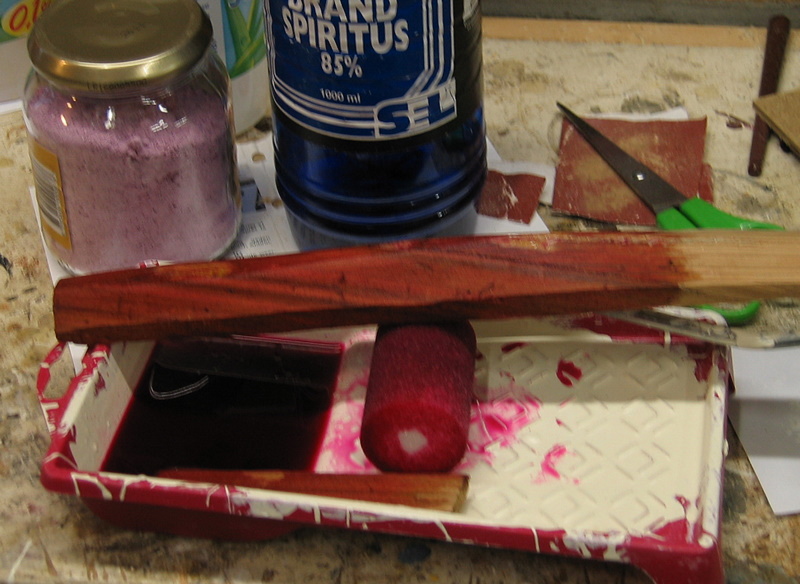 |
On Nick Schade's website I found a boat which was colored with "paint", giving the beautiful impression that the boat was built with Mahogany. Light coloured lines accentuate the darkened Red Cedar wood. I had to experiment and find out how it was done. |
 |
To find out what the result would be with a particular paint, I coated a piece of Red Cedar wood, I'm quite happy with how it looks. |
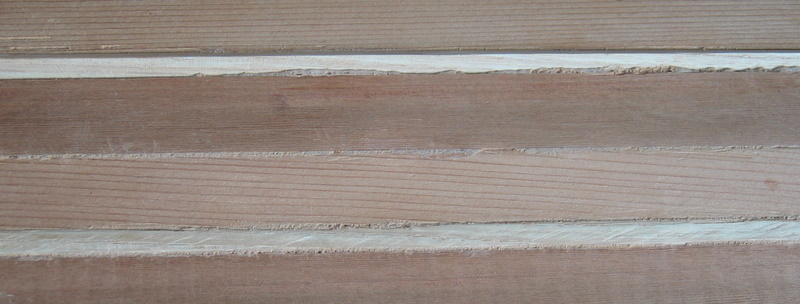 |
Now I needed to find out how to get a light line in the wood. |
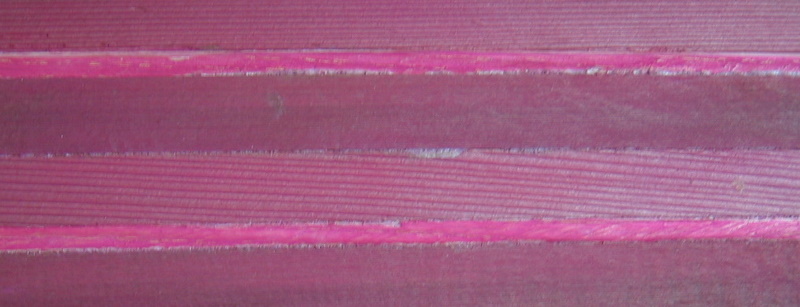 |
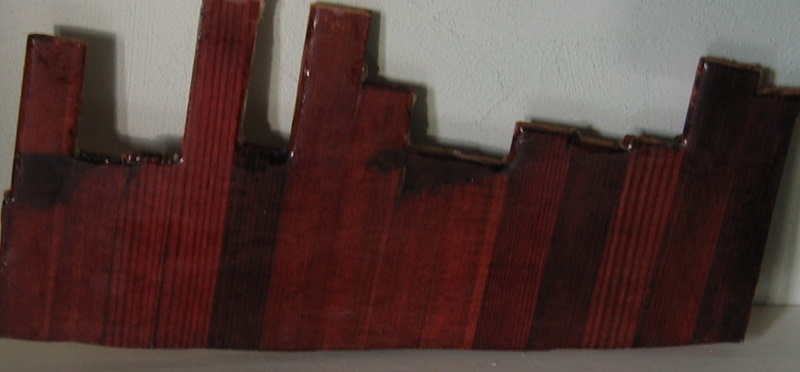
This picture shows a small panel consisting of Red Cedar and Ash wood strips, painted red (looks pink now but covered with epoxy it will get the proper Mahogany look). |
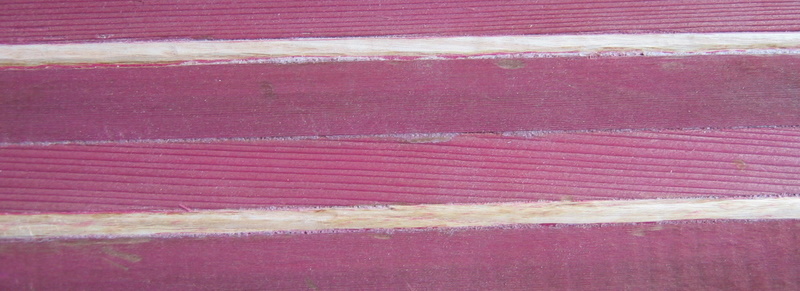 |
With some care I cleaned the hard Ash wood to show up the light wood. |
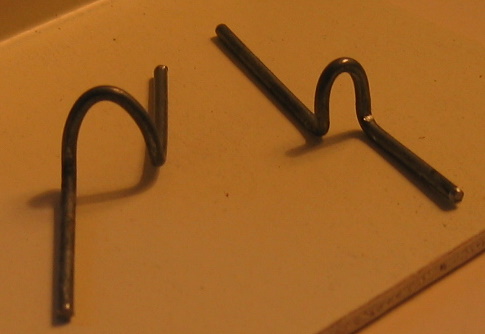 |
On the internet I found a simple solution for deck fittings to attach the elastic cord. I experimented making it with bicycle spokes, the actual fittings will be in stainless steel. |
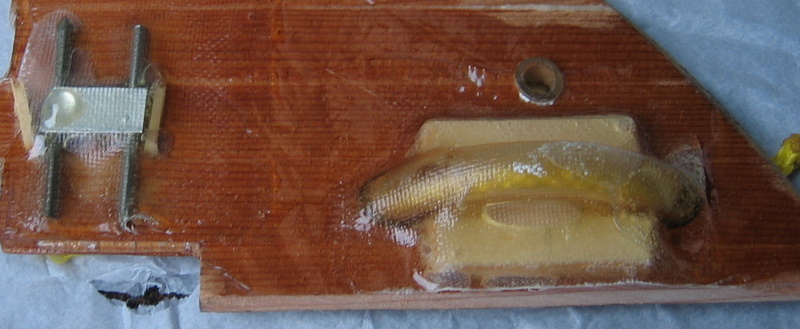 |
To get a stronger fitting for the other lines, I decided on a different construction. A tube will pass in and out of the deck, the lines will be drawn through. The photo shows that part of the fitting which will be below deck. It is a try out construction on a left over piece of Red Cedar strip panel. |
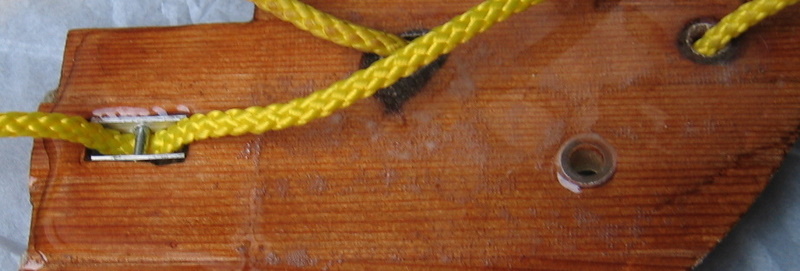 |
This is the fitting as it will be seen from the outside. I used wax to prevent epoxy from clogging up the tube, however the wax reacted with the epoxy and became a gooey mess. It doesn't work as I had hoped. I have decided to install the tube after the glass and epoxy have been added, thus avoiding the problem of epoxy filling the tube. |
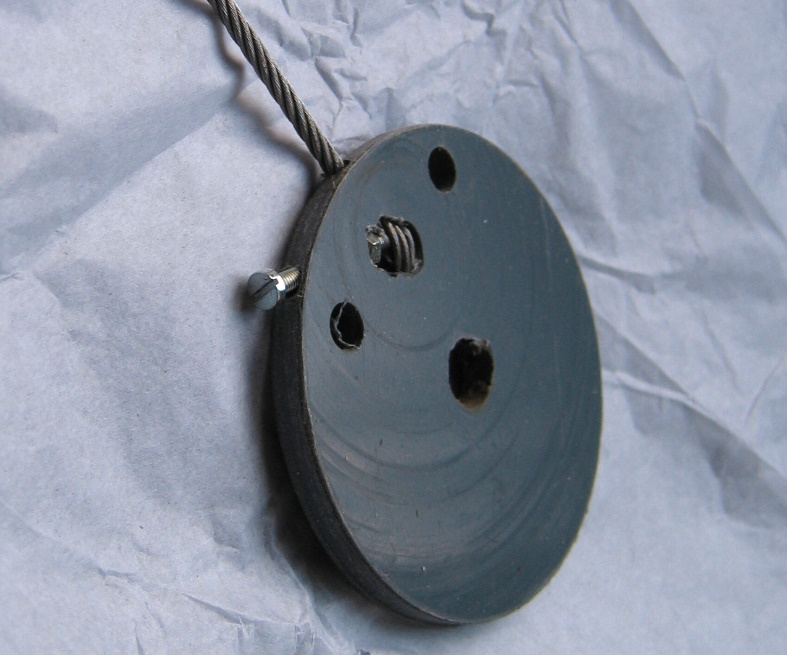 |
The skegbox will be very flat and narrow, I need a solution to fit the skegcable to the PVC sheet in the small space available. Here's how I plan to do it. It was a precise job drilling holes in the rim. |